Waves
Like all developers around the world, there comes a time when you want to make waves, to shake things up and make a difference. For me that seemed like a lot of hard work, so I decided to make waves on a web page instead.
I am sure this type of thing can be done in a number of different ways. I have seen it done with an SVG image with a path being animated with JavaScript. It worked, but I wanted to create something that did not use any code, but instead used some type of animation that is already available.
I found out you can animation SVG using SMIL (Synchronized Multimedia Integration Language).
This requires you to add <animate> tags within the SVG objects you want to animate.
For a wave, this is ideal, as we can just animate a single path object to look like it is moving up and down.
Below is the HTML, CSS, SVG parts all put together.
There is a lot going on here.
First there is the outer element that holds our SVG.
Then we have a normal SVG, which contains a path object, but it does not have the normal d attribute.
This is because inside the path object we are using an animate object, which controls which path to use and when.
It would be best if you looked up how this object works for more information, but from what I understand,
the attributes used do the following.
- attributeName - Points to the parent objects attribute that is being animated. In this case, we are changing the d attribute, which is the path the object is being drawn.
- dur - This is the duration of the animation, the time it takes to run through.
- repeatCount - How many times the animation is repeated. We are running it forever.
- keyTimes - Ranging from 0 to 1, these are the points in the time frame that each point in the animation is set.
- values - For each time frame, this is the value that will be given to the parent object.
What is happening is that we are starting the path with the first value line, it then moves to the middle value line, and finally ends on the third value line.
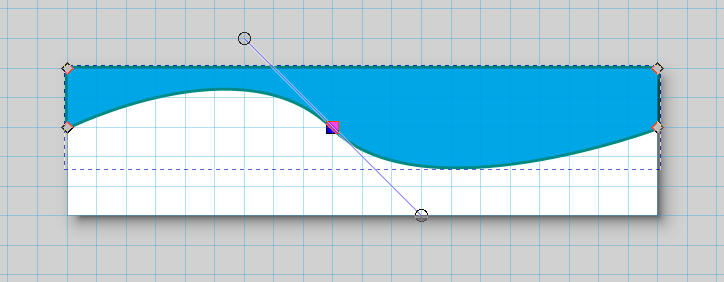
I created these path values by using an SVG image editor (Inkscape) and copying the path values.
We need to start the animation on a flat line.

We then move on to the middle part where we have added some wave adjustment. We then move back to a flat line, but on the other size of the shape.
The end result is what looks like a wave animation. To make it useful you will still need to do some CSS work. It would look great as part of a header or footer section of your site, or add multiple ones with different transparent colors overlapping each other for a cool looking background.